


Creating a Wedding Album: How to Tell the Story of Your Day
Long after the confetti has been thrown and you have returned from honeymoon, your wedding photographs will bring back beautiful memories of your day. However, a gallery of hundreds, and more often thousands, of images can feel more overwhelming than exciting. A thoughtfully edited wedding album will give your photographs a shape, taking you from the excitement of getting ready to the crowded end-of-night dance floor.
Edited narrative
Think of your wedding album as an edited story rather than a complete photographic archive. Professional album guidance recommends organising your photographs around the chronological order of your day, rather than cramming every image in.
Before you start editing down your gallery, always back up the original files then create a separate folder for your shortlist. Giving yourself a little distance from the wedding can help too. Once the initial excitement settles, you may discover that an unposed picture of your grandparents chatting means more to you than another formal portrait.
Organise the story into chapters
Arrange your shortlist broadly around preparations, arrivals, the ceremony, portraits, group photographs, reception details, speeches, your first dance and the evening celebrations. Chronology helps someone looking through the album understand how your day unfolded, even if they could not attend.
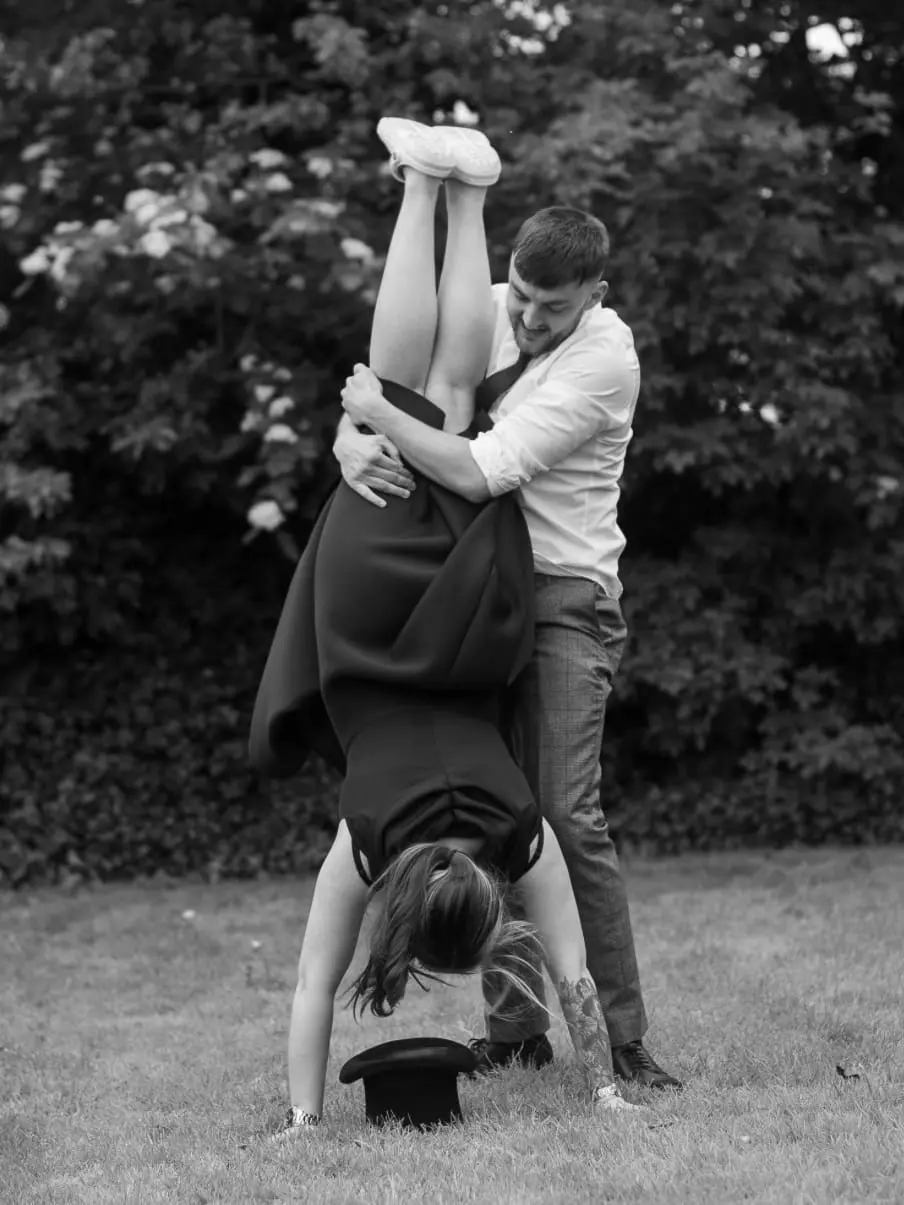
Balance photographs of you as a couple with the people and details that shaped the occasion. A wide photograph of your reception room, for example, gains more meaning alongside a candid shot of friends laughing at a table. Photography guidance highlights the value of organising images carefully alongside consistent choices about editing and printing.
Technical preparation and design choices
Use the high-resolution files supplied by your photographer for a high-quality wedding album. Smartphone photos and social media posts may contain less image information, which becomes more noticeable when you enlarge them.
When preparing favourite images for photo printing, check their resolution and proposed size so that emotional close-ups and wide venue scenes retain suitable detail on the page. As a practical reference, Mylio’s 2025 printing guidance suggests 300 pixels per inch (PPI) for high-quality prints. It explains that dividing an image’s pixel dimensions by the intended PPI gives you its approximate printable dimensions.
Check crops and orientations against your chosen page dimensions. Not everything that works on screen will translate directly to paper. Keep colour treatment and skin tones visually consistent from one spread to the next paying particular attention to panoramic photographs.
Careful proofing and preservation checklist
A final proof deserves an unhurried read. Check every name, date and caption. Look through the photographs again to make sure you have not accidentally left somebody out, or an important moment or detail you want to remember. Review the cover, page sequence, margins and individual crops before you both approve the final version.
Consider your guests as well as your design choices, particularly if you plan to share photographs online afterwards. The UK’s National Crime Agency advises families to think carefully about who can access photographs of children. Think about consent when taking and sharing their images. If a photograph feels sensitive or particularly identifiable, consider the guest’s or parent’s wishes before publishing it.
Finally, store the physical wedding album somewhere dry and away from strong sunlight and extreme temperatures. An album earns its place in your home when opening it still feels like stepping back into your day.
See our highly recommended photographers here
